
Microsoft’s new Windows 11 operating system includes support for Power Modes, a functionality that was previously present in previous versions of the Windows OS. The power modes are various settings for managing the device’s power consumption.
The system is set to the Balanced power mode by default, which assures optimal performance through automatic power and performance optimization. It also has a handful of various options to modify the power mode in order to extend the battery life of the laptop or improve system performance.
In this step-by-step tutorial, we’ll teach you how to change the power mode from balanced to achieve the optimum battery life or performance on your Windows 11 computer via Settings.
How to change Power Modes in Windows 11
Step 1: Open the Settings app on your Windows 11 computer.
Step 2: When the Settings application opens, click on the “System” option.
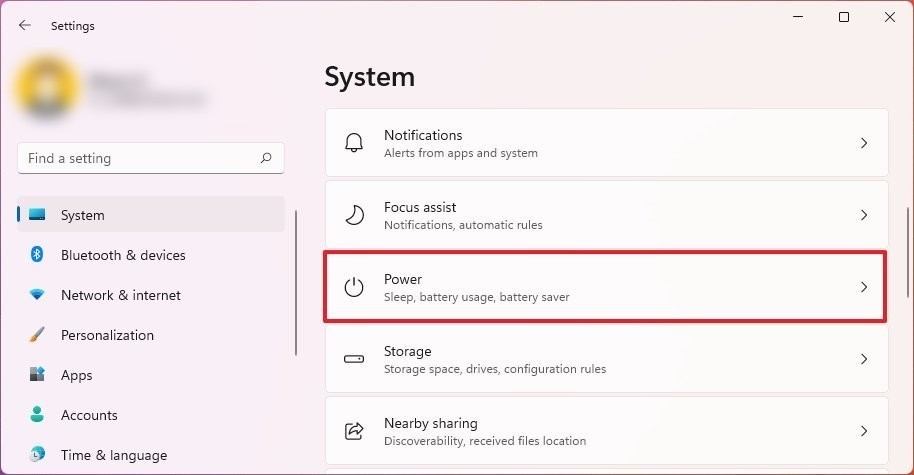
Step 3: In the System Settings page, select the “Power & Battery” option from the right side.
Step 4: Under the Power mode settings, select the option that you want from the drop-down.
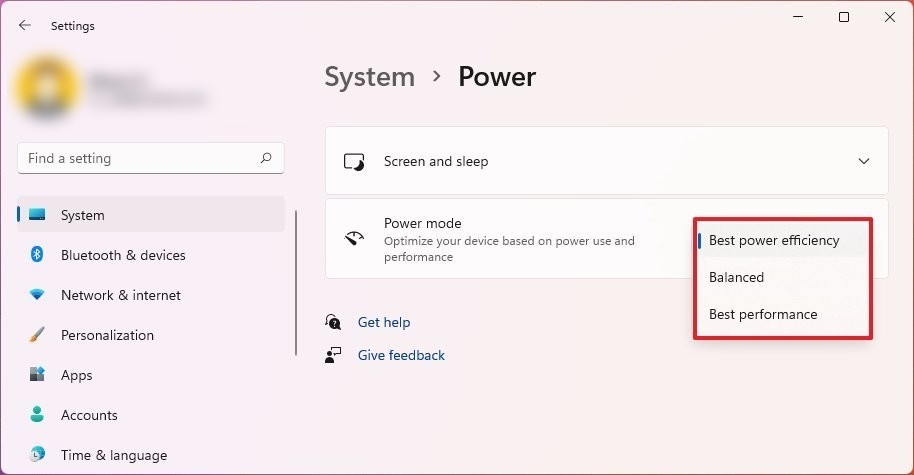
There are three power modes to choose from:
- Best Power Efficiency: This mode saves the maximum energy but lowers the system performance.
- Balanced: The system will automatically balance energy and performance for an optimal experience in Windows 11.
- Best performance: This mode uses the maximum energy to increases the system performance.
Once you’ve chosen a power mode, the adjustments will be implemented to your computer automatically. Unlike Windows 10, the new Windows 11 operating system does not allow users to switch between power modes from the Taskbar, thus users must change it manually via Settings or Command Prompt.