
Microsoft releases updates for the Windows operating system on a regular basis, and the updates can be of various types, such as quality updates, feature updates, and more, depending on the update’s focus, which can range from fixing security vulnerabilities, resolving bugs, improving system performance, and delivering new features.
One such type is “Optional Updates,” which are updates that aren’t important but may be required for other functions. These upgrades typically include Microsoft and non-Microsoft product packages, as well as third-party drivers.
The latest versions of Windows updates are optional, and they will not download and install unless the user manually does so using Windows Update. However, if the version is nearing the end of its life cycle, the upgrading will take place automatically.
We will teach you how to download and install optional updates on a Windows 11 PC using the Settings app in this step-by-step instruction.
How to download and upload optional updates in Windows 11
Step 1: Open the Settings application on your Windows 11 computer.
Step 2: When the Settings window opens, click on the “Windows Update” option from the left sidebar.
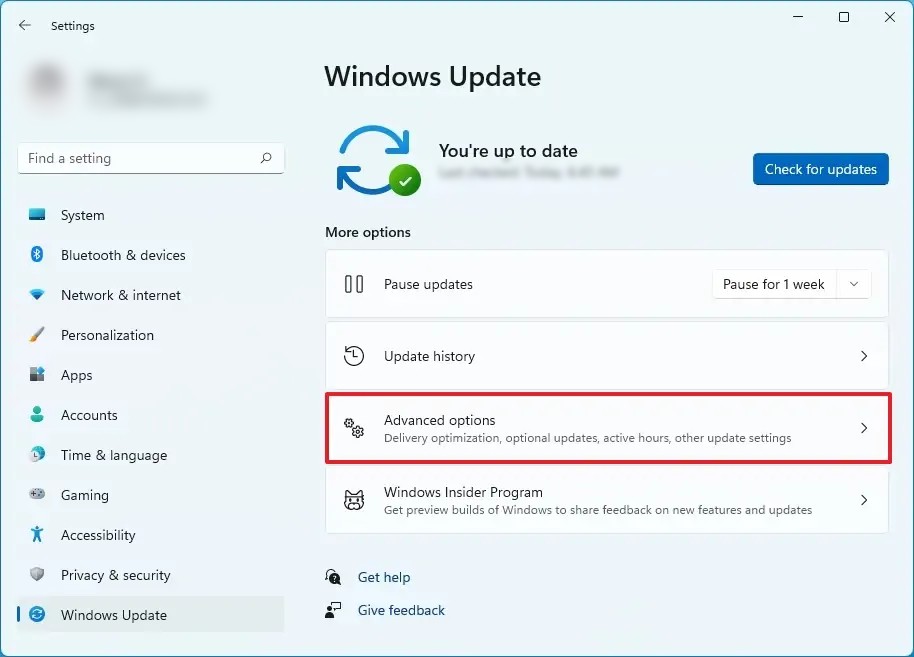
Step 3: After that, select the “Advanced Option” from the right side of the window.
Step 4: Under the “Advanced options” section, click the “Optional updates” page on the right side.

Step 5: Check the optional updates to download and click the “Download and install” button.
Once you have successfully completed the above-mentioned steps, the package you selected will download and install automatically on the Windows 11 -powered computer.