
When you insert an external storage device into your Windows computer, the system displays a list of actions you can take based on the type of device attached to the computer. If the AutoPlay settings are specified, the system will conduct the previously defined action automatically. If that is not the case, a pop-up will appear and prompt you to take action.
If you messed up the setup by selecting an incorrect autoplay action for an external media, you can rollback the changes or return to the default configuration. In this step-by-step instruction, we will show you how to restore AutoPlay settings in Windows 11 to their default condition.
How to reset AutoPlay Settings to defaults in Windows 11
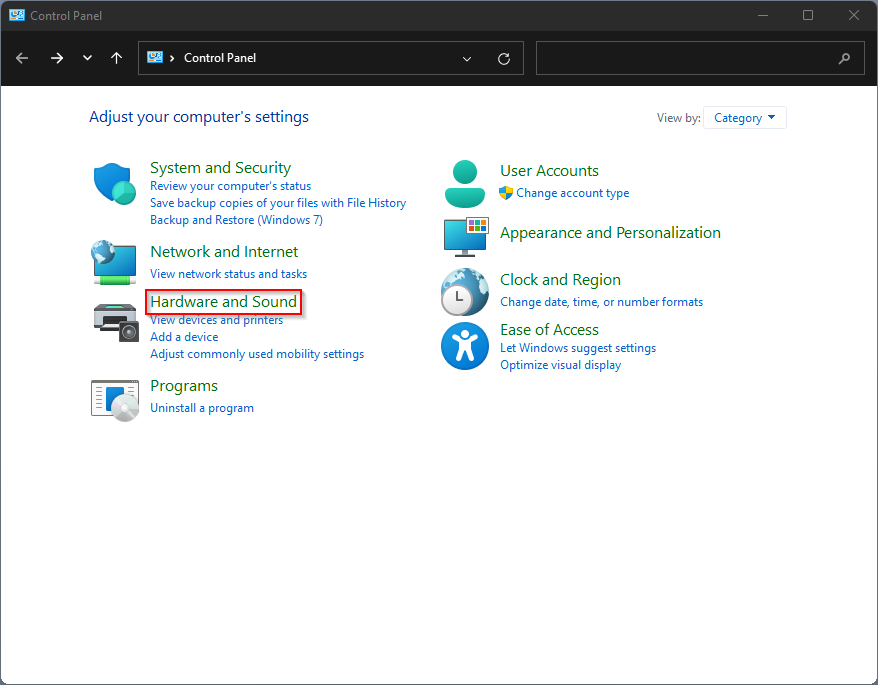
Step 1: Open the Control Panel on your computer and then select the “Hardware and Sound” group.
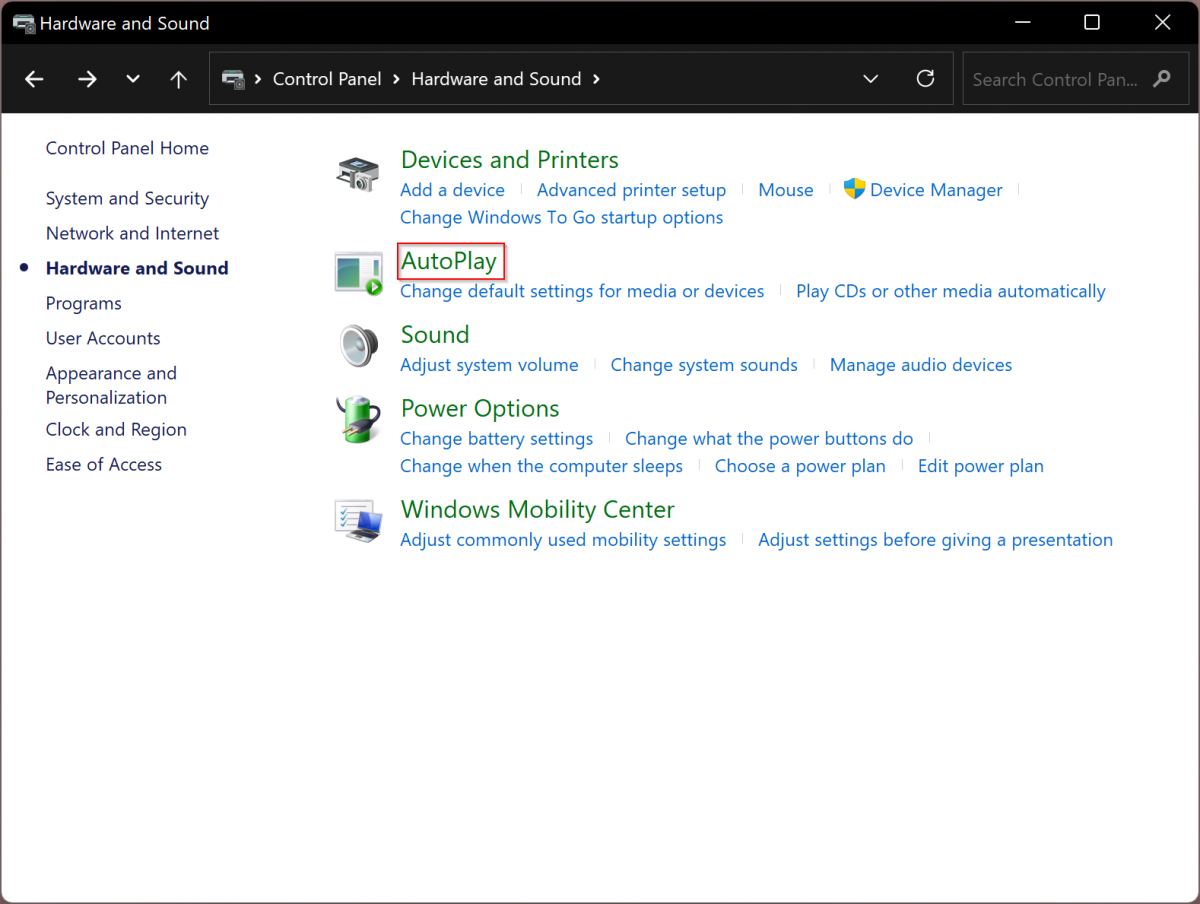
Step 2: Under the Hardware and Sound section, click on the “AutoPlay” option.
Step 3: On the AutoPlay settings, scroll down and click the “Reset all defaults” button.
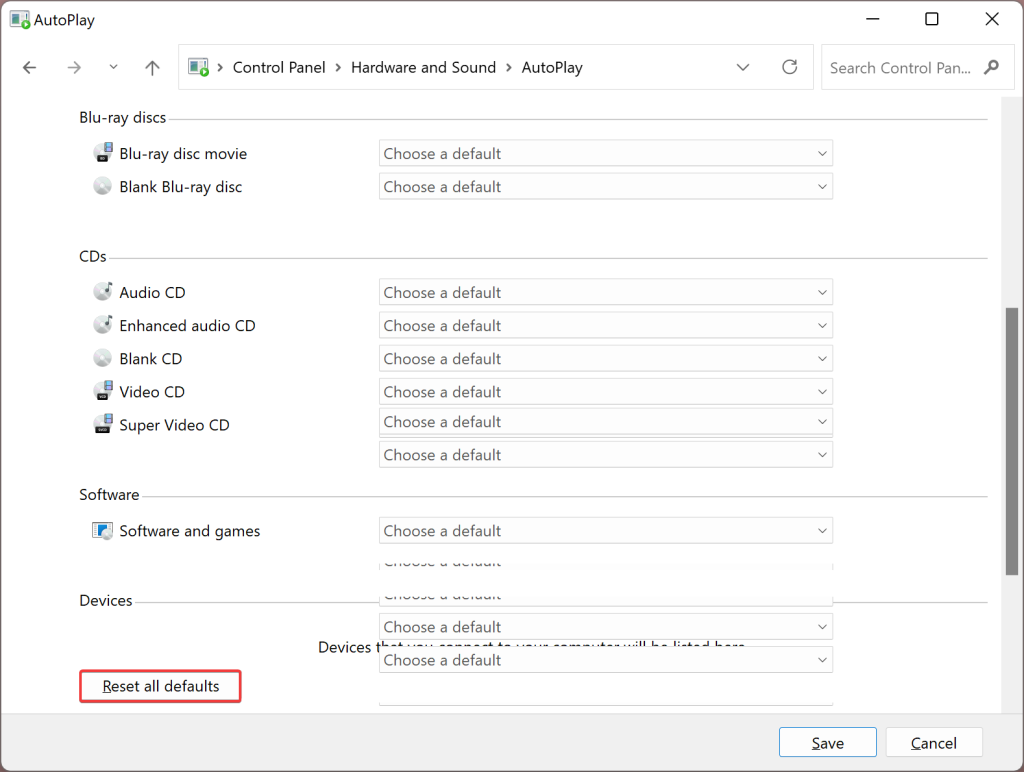
Step 4: After making those changes, click the “Save” button.
That’s all. Because the AutoPlay settings have been reset to defaults, you can now close the Control Panel. You can now customize or configure them from the ground up based on your demands or requirements.