
Custom scaling is one of the choices available to users in the Windows 11 operating system for customizing the system. Users can modify the size of text, programs, and other visual elements on the screen using scaling to make them appear smaller or larger.
The automatically determined scale option in the Windows 11 operating system isn’t always appropriate for use. In such instances, you can modify the display scaling on the system manually.
While there are two ways to modify the scaling on Windows 11, we will teach you how to personalize the display scaling in Windows 11 using the Settings application in this step-by-step guide.
How to customize display scale in Windows 11
Step 1: Open the Settings application on your computer. For this, you can either click on the Start Menu and search for the app or press the Windows + I keys on the keyboard.
Step 2:When the Settings app opens, click on the “System” option.
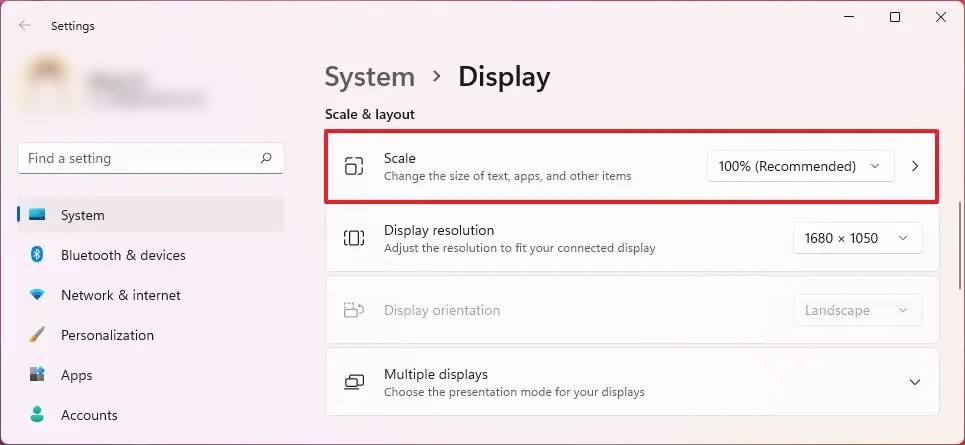
Step 3: After that, click the “Scale” setting under the “Scale & Layout” section.
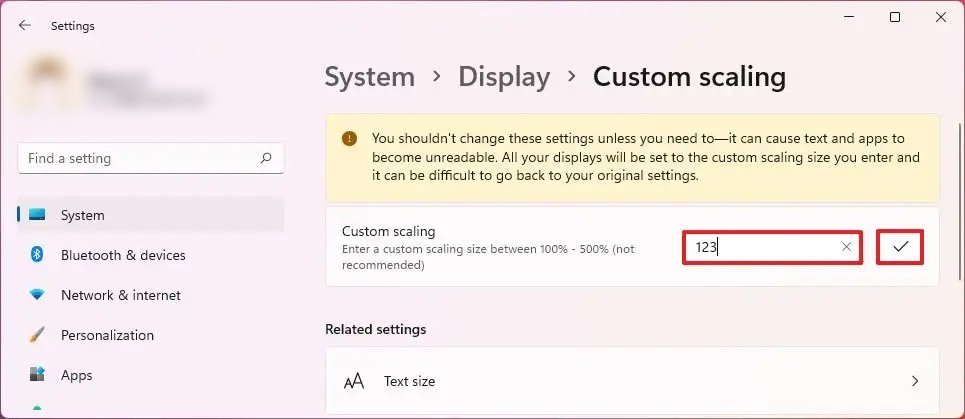
Step 4: You can use the “Custom scaling” option to specify the custom scaling size between 100% and 500% on your system.
Step 5: Click the Check button and then click the Sign out now button.
After completing the preceding steps, sign back in to begin using the custom scaling on your Windows 11-powered PC. If the newly made modifications aren’t what you’re looking for and you want to revert to the original settings, repeat the process and select the “Turn off custom scaling and sign out” option.