
Microsoft’s Windows 11 operating system can work with numerous monitors attached to the computer as long as the GPU can handle it. The Windows operating system normally identifies a newly connected monitor and allows you to use it immediately after plugging it into the device.
While a single monitor linked to a PC is still the norm, there are many use cases where having multiple monitors or displays attached to a computer makes it much easier for users to carry out their work. It is useful when there is a need to maintain numerous windows open on the system, and with a multi-monitor arrangement, such multitasking may be accomplished without having to switch between the windows.
If the plug-and-play setup for additional displays isn’t working properly on your Windows 11 computer, follow this step-by-step guide to manually detect and alter the settings of other connected displays on the computer.
How to connect additional monitors in Windows 11
Step 1: Launch the Settings app on your Windows 11 PC.
Step 2: From the left-side pane of the Settings app, select “System.”
Step 3: On the right-side pane of System Settings, click the “Display” tab.
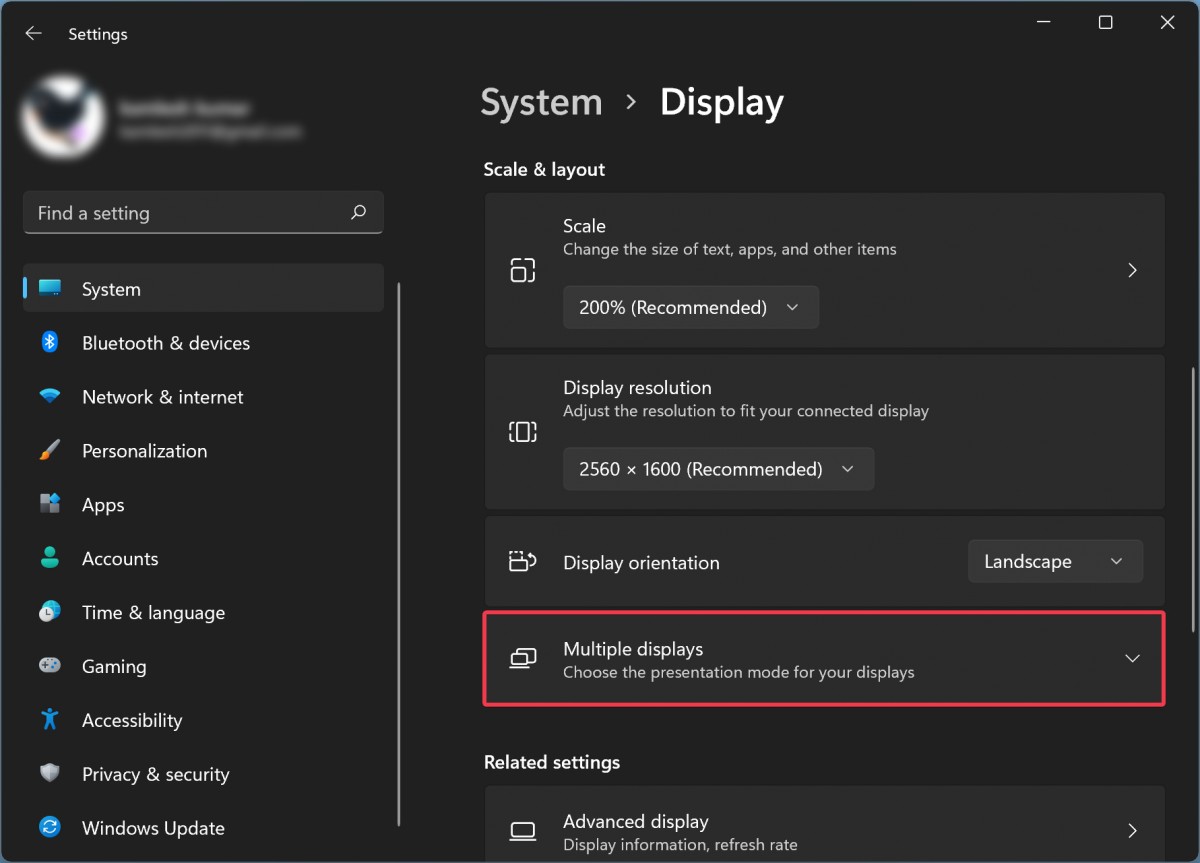
Step 4: On the Display settings page, the PC should have automatically detected connected monitors and shown the desktop.
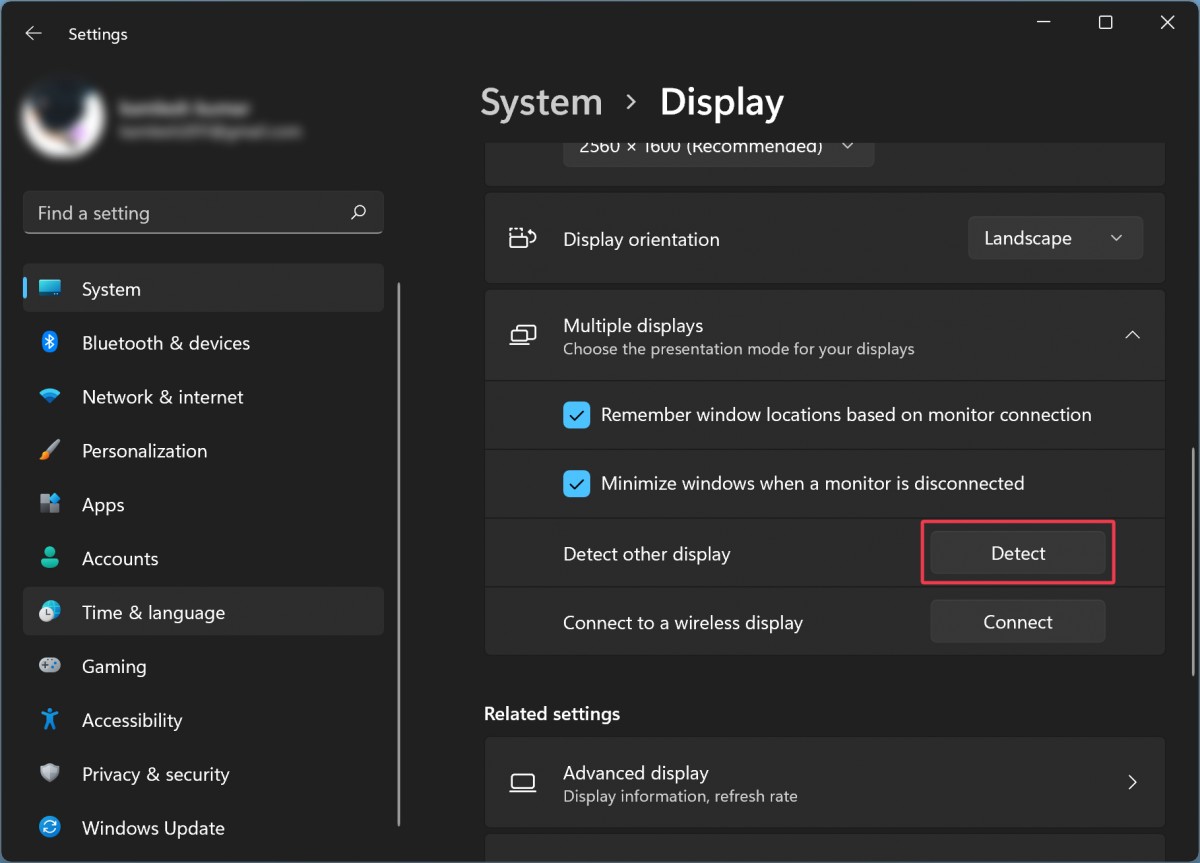
Step 5: If you don’t notice the monitors, expand the “Multiple displays” tile and then click the “Detect” button inside the “Detect other displays” option.
When all other displays connected to the computer have been discovered or recognized, scroll to the top of the Display settings page to alter settings for each connected display or monitor.