
So you know how you feel fly with yourself when walking out of the salon like you are about to do a hair commercial. With hair as smooth, voluminous and bouncy, your confidence skyrockets and your mood instantly gets a lift. But behind the euphoria that comes with a professional, blowout-induced good hair day, you can’t help but feel dismay over the fact that it would be borderline rocket science to attempt to re-create the same salon-worthy strands at home. And this tips work for all hair types.
Always Pre-dry Hair
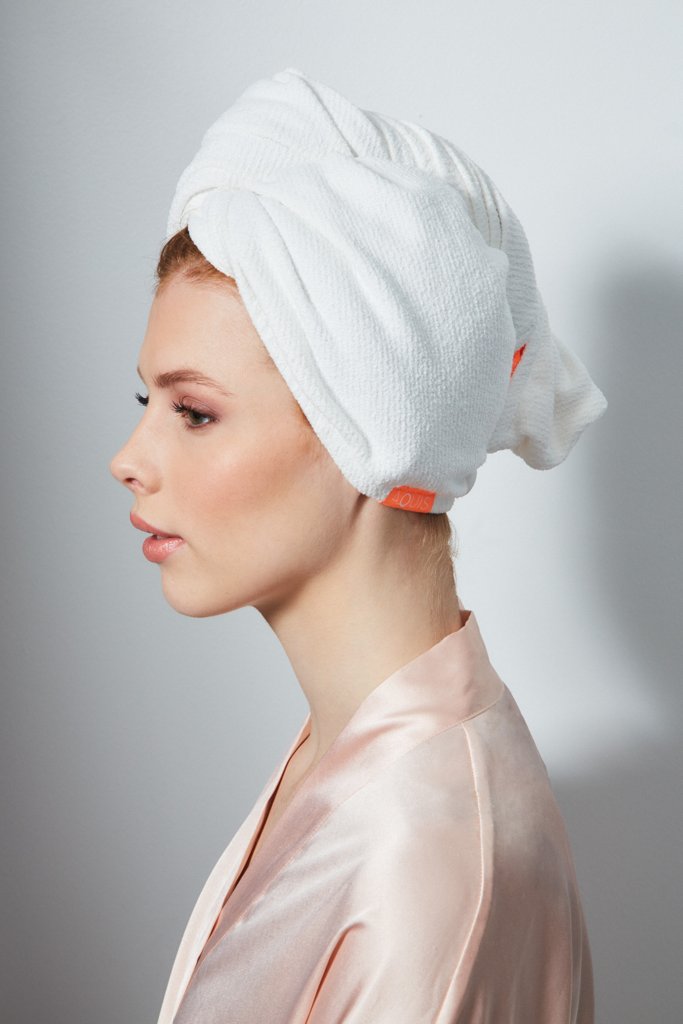
When blow-drying your hair into a sleek blowout, the first step is to always pre-dry your hair with a towel or a tee-shirt (I prefer to use a T-shirt, it takes 70% of the wetness off the hair). This cuts the styling time in half! Skip combing your hair, and apply the towel by flipping your head upside down, wrapping it around the back of your head, and twisting the fabric around your hair like you would a turban or a head scarf.
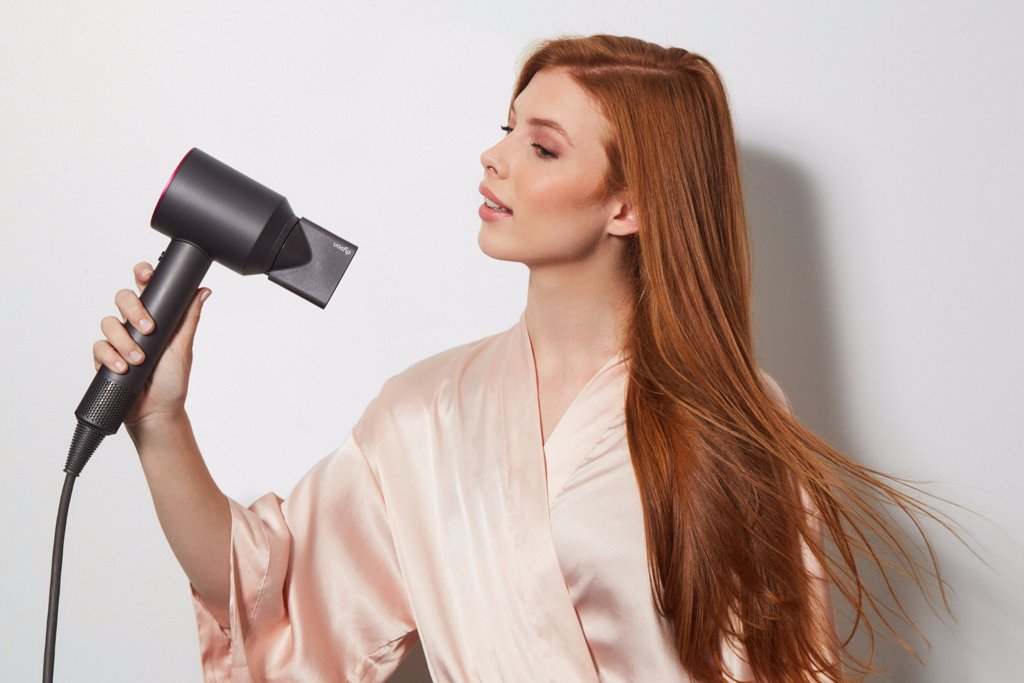
Attach a Nozzle
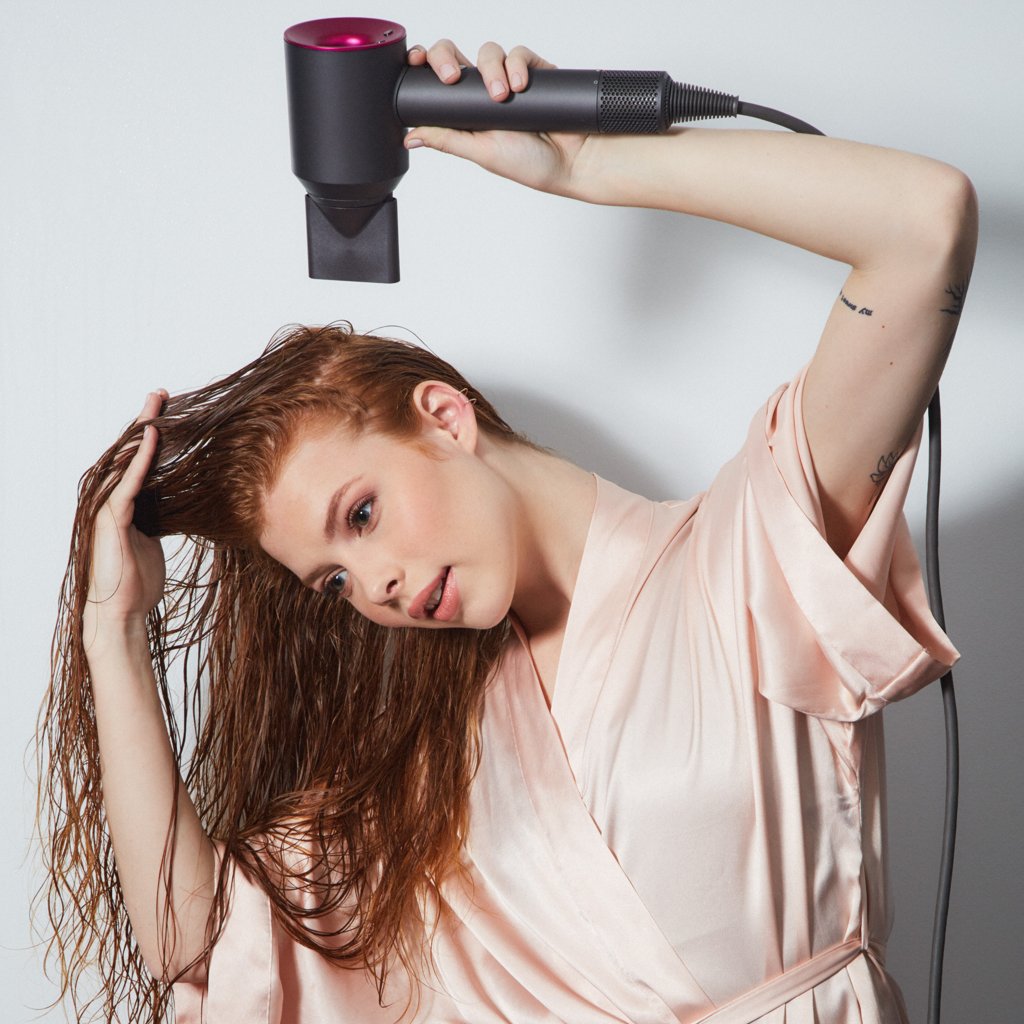
Attaching a concentrator nozzle to your blow dryer can do wonders for minimizing frizz. The nozzle creates distance between the hair and the lip of the dryer, which is the hottest point of the hair tool. So instead of dispersed air flow hitting your strands from all directions, it concentrates the air flow against the hair.

“Hold the nozzle downward, pointing it down the hair shaft while you blow-dry,” Vaccaro explained. By positioning the nozzle in a downward direction against the hair, air flow will be focused on smoothing down the cuticle to minimize frizz.
Section Hair into 4 Parts
That morning time crunch might leave you with little time for getting dolled up, but you’ll get much better results if you don’t rush through the blowout process. Taking time to section off your strands before blow-drying will give you a much smoother finish, especially by the root.
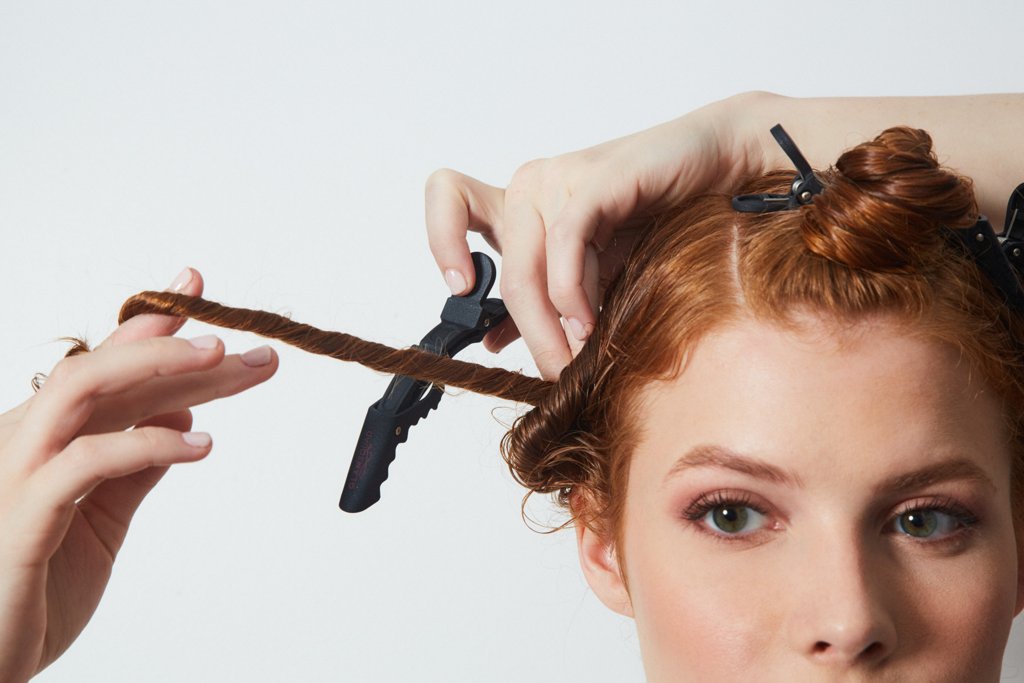
“I recommend using plastic rollers, bendy rollers or alligator clips as they do the best job of gripping your hair so strands don’t slide out. When sectioning hair, wrap it up into four distinct parts the front, back, and two sides ( just like when relaxing or conditioning) by twisting the strands up into miniature buns.” Once hair is sectioned, release the front portion to style first and go from there.
Start From the Front
The front of your head tends to be where the hair is most challenging thanks to uneven hairlines and hard-to-control cowlicks. So beginning to blow-dry along the front of your face will allow you to focus more time on smoothing out that frizzy hairline before moving on to the rest of the hair.
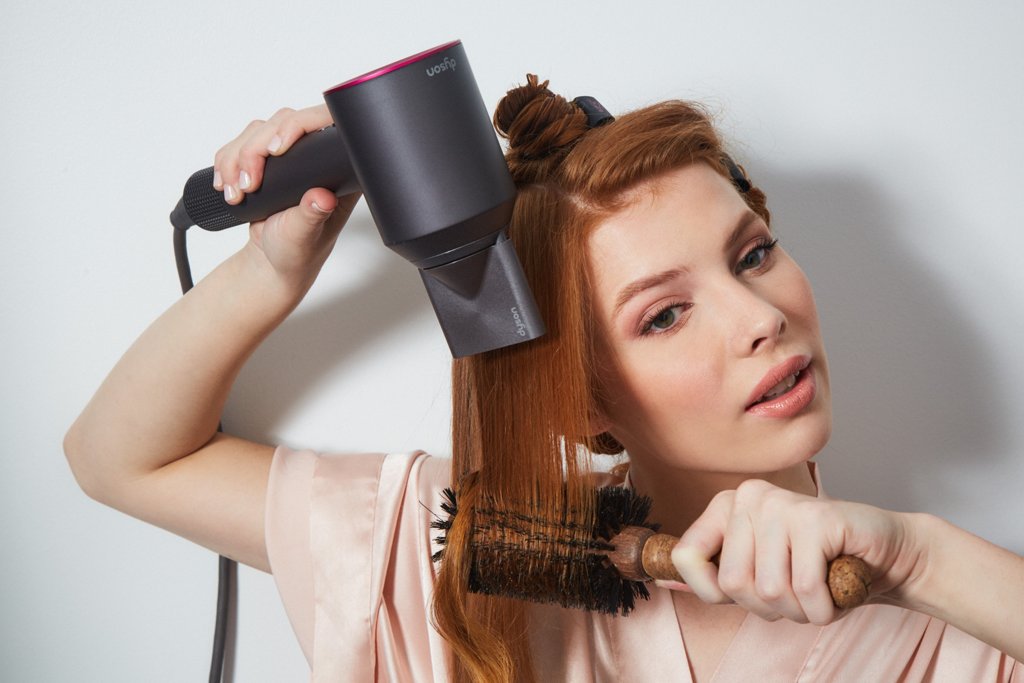
Use the Right-Size Brush
Choose your brush wisely! According to Vaccaro, brushes that are too big (think 3-inch diameter and above) will result in a superstraight outcome, because the hair won’t wrap around the ends enough for a curl. On the contrary, smaller brushes (1 1/2 inches to 2 1/2 inches) will add waves to the style because the hair can wrap around the brush tightly, multiple times, while being held against the dryer( that’s if you are blow drying a weave or if you have really long hair)
“Bigger brushes are also more efficient, shortening the blowout time because more hair is lifted against the heat at a time
Lift at the Root For Volume
Volume starts at the root, so it’s actually your brush technique that will give hair that extra lifted finish. For this step, start off by holding the hair 90 degrees above the crown of the head. Then, keep your chin up and pull a boar-bristle brush up and forward so that the underneath portion of the root is exposed, using the brush like you would a hair roller.
Continuously use the brush to roll your hair up and back, and release the hair in a C shape while drying. This technique will give you a sleek blowout with a subtle wave at the ends and extra volume at the root.
Use the Cool Shot Button
Don’t ignore the existence of the cool shot button on your blow dryer. Using it is key for achieving the ultimate shiny finish. End your blowout with a 10-second blast of cool air all over your hair to seal the cuticle, bring out the shine, and minimize frizz.
Pro tip: When pressing the cool shot button, pull your hair away from the face and shake it side to side to ensure your whole head gets exposed to the cool air before letting it fall back into place.
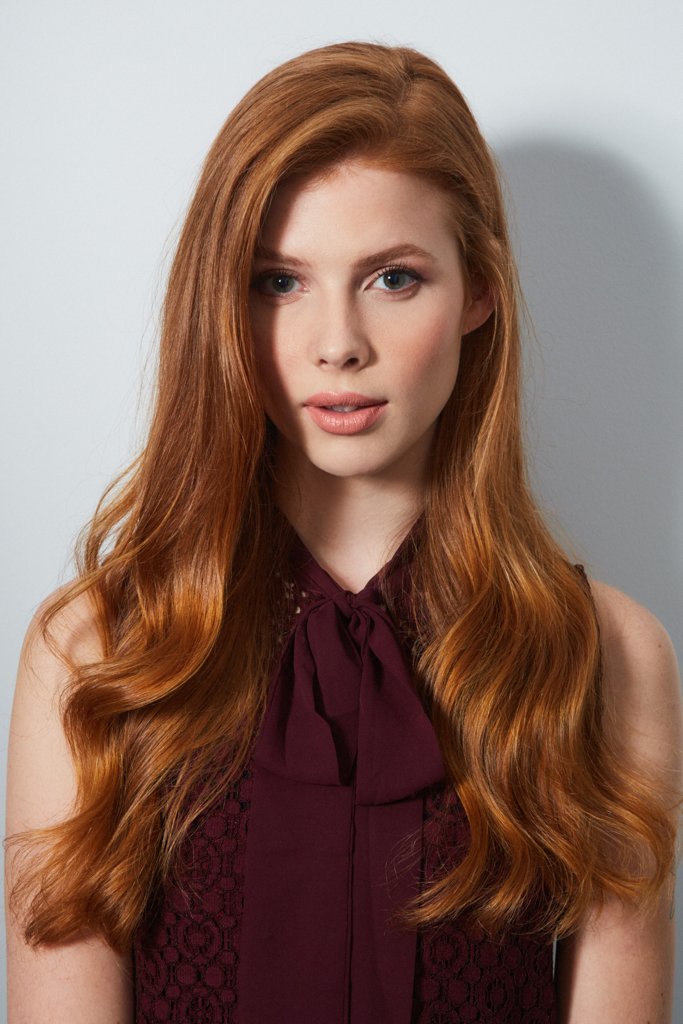
The Finished Look
Once hair has been sectioned, brushed, and blow-dried to perfection, you’ll be left with the sleek, bouncy blowout
Credit: http://www.popsugar.com/